Creating Contract
Overview
The Contract module enables you to create, manage, and track legally binding digital contracts with integrated e-signature capabilities. This system provides end-to-end contract lifecycle management from creation to execution.
Creating a New Contract
Step 1: Initiate Contract Creation
- From the Contract Dashboard, click + New or navigate to Contract > Create New
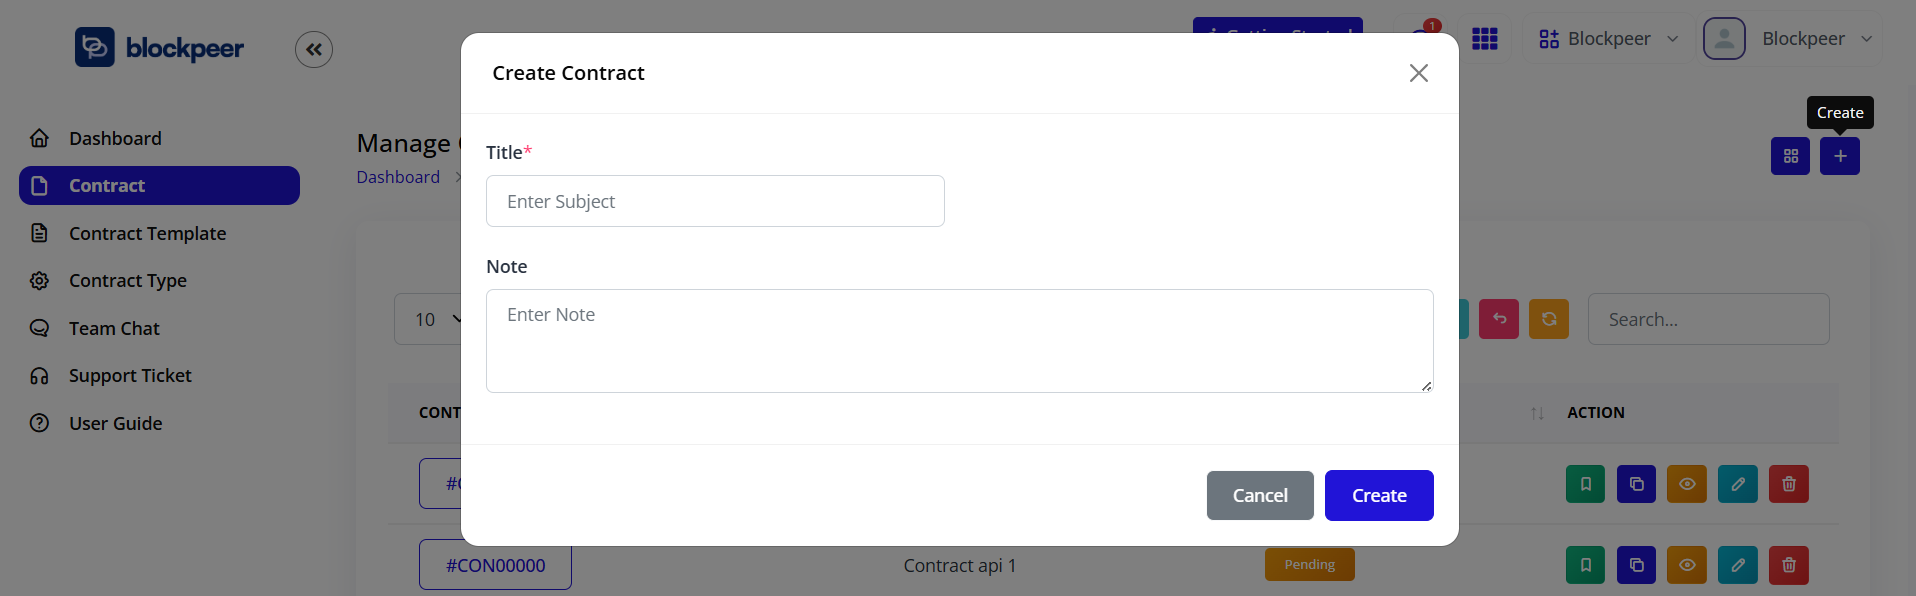
- The Create Contract dialog will appear
Step 2: Enter Basic Information
Complete the contract creation form:
Title*
- Enter a descriptive title for your contract
- Use clear naming: "Service Agreement - ABC Corp" or "NDA - John Smith"
- Title helps in searching and organizing contracts
Note (Optional)
- Add internal notes or reminders about this contract
- This note is not visible to signers
- Use for tracking purposes or internal reference
- Click Create to proceed to the contract editor
Contract Editor
Understanding the Editor Interface
Once created, you'll see the Contract Detail page with:
Left Panel - Contract Detail
- Title: Display contract title
- Contract Information: Shows contract metadata
Right Panel - Signer's Analytics
- Track who has signed and who is pending
- View signature timestamps
- Monitor contract completion status
Bottom Panel - Content Description
- Rich text editor for contract content
- Full formatting toolbar with standard text editing features
Adding Contract Content
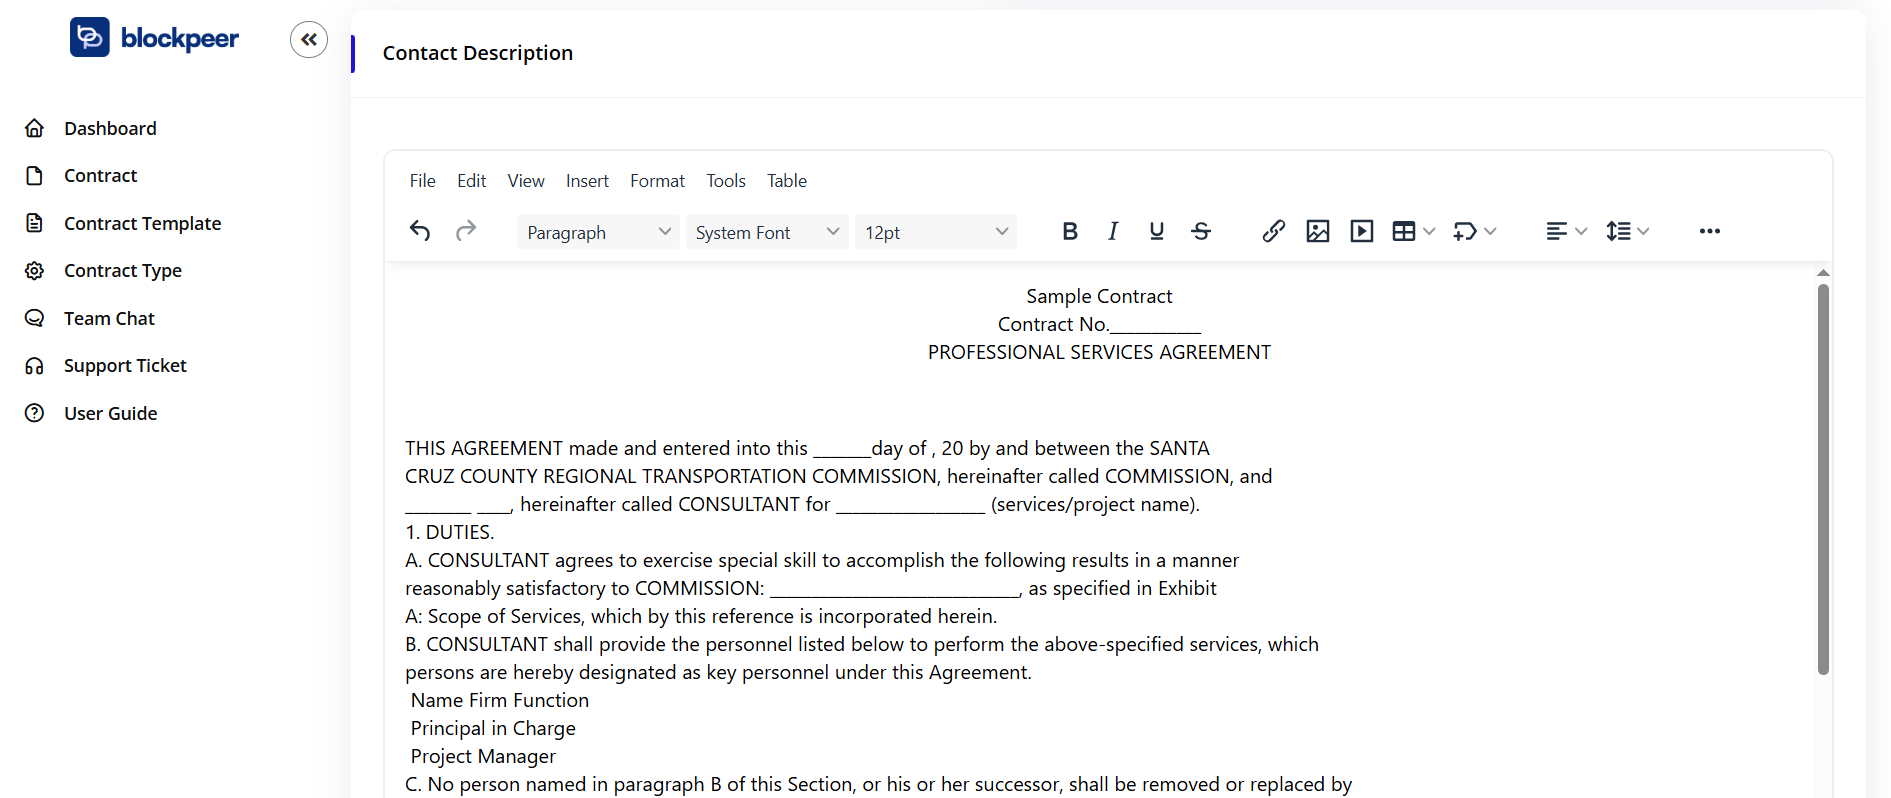
Use the comprehensive text editor to create your contract:
Formatting Options:
- File: New, Open, Save operations
- Edit: Undo, Redo, Cut, Copy, Paste
- View: Different view modes
- Insert: Tables, images, links, special characters
- Format: Text formatting, styles, colors
- Tools: Spell check, word count
- Table: Create and manage tables
Text Styling:
- Paragraph styles and headings
- Font selection (System Font)
- Font size (12pt default)
- Bold, Italic, Underline, Strikethrough
- Text alignment (left, center, right, justify)
- Bullet and numbered lists
- Insert links, images, tables
- Add special symbols
Creating Contract Content:
-
Type or Paste Content
- Write directly in the editor
- Copy and paste from existing documents
- Format as needed using the toolbar
-
Add Standard Clauses
- Insert common contract terms
- Customize for specific agreements
- Use templates for frequently used sections
-
Include Party Information
- Company name and address
- Signer names and titles
- Contact details
- Effective dates
-
Define Terms and Conditions
- Payment terms
- Deliverables and timelines
- Responsibilities of each party
- Termination clauses
- Dispute resolution
-
Add Signature Blocks
- Create spaces for signatures
- Include date fields
- Add witness signature areas if needed
Managing Contract Actions
Contract Action Buttons
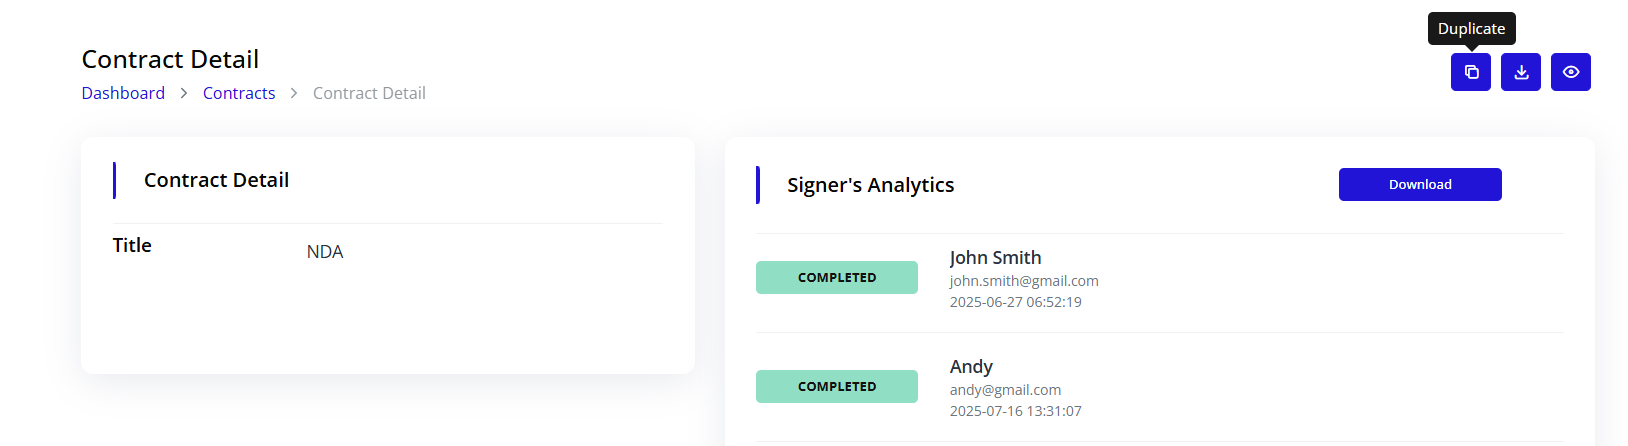
Four primary actions are available in the top-right corner:
-
Copy Contract (📋)
- Duplicate the contract
- Create similar contracts quickly
- Maintains formatting and structure
-
Download Contract (⬇️)
- Export contract as PDF
- Save for offline review
- Share via other channels
-
Preview Contract (👁️)
- View contract as signers will see it
- Check formatting and layout
- Review before sending
-
Edit Contract (✏️)
- Return to editing mode
- Modify content and settings
- Update contract details
Saving Your Work
- Click Save in the editor toolbar to save changes
- Contracts auto-save periodically
- Draft status is maintained until sent for signature
Adding Signature Fields
Step 1: Access Signature Mode
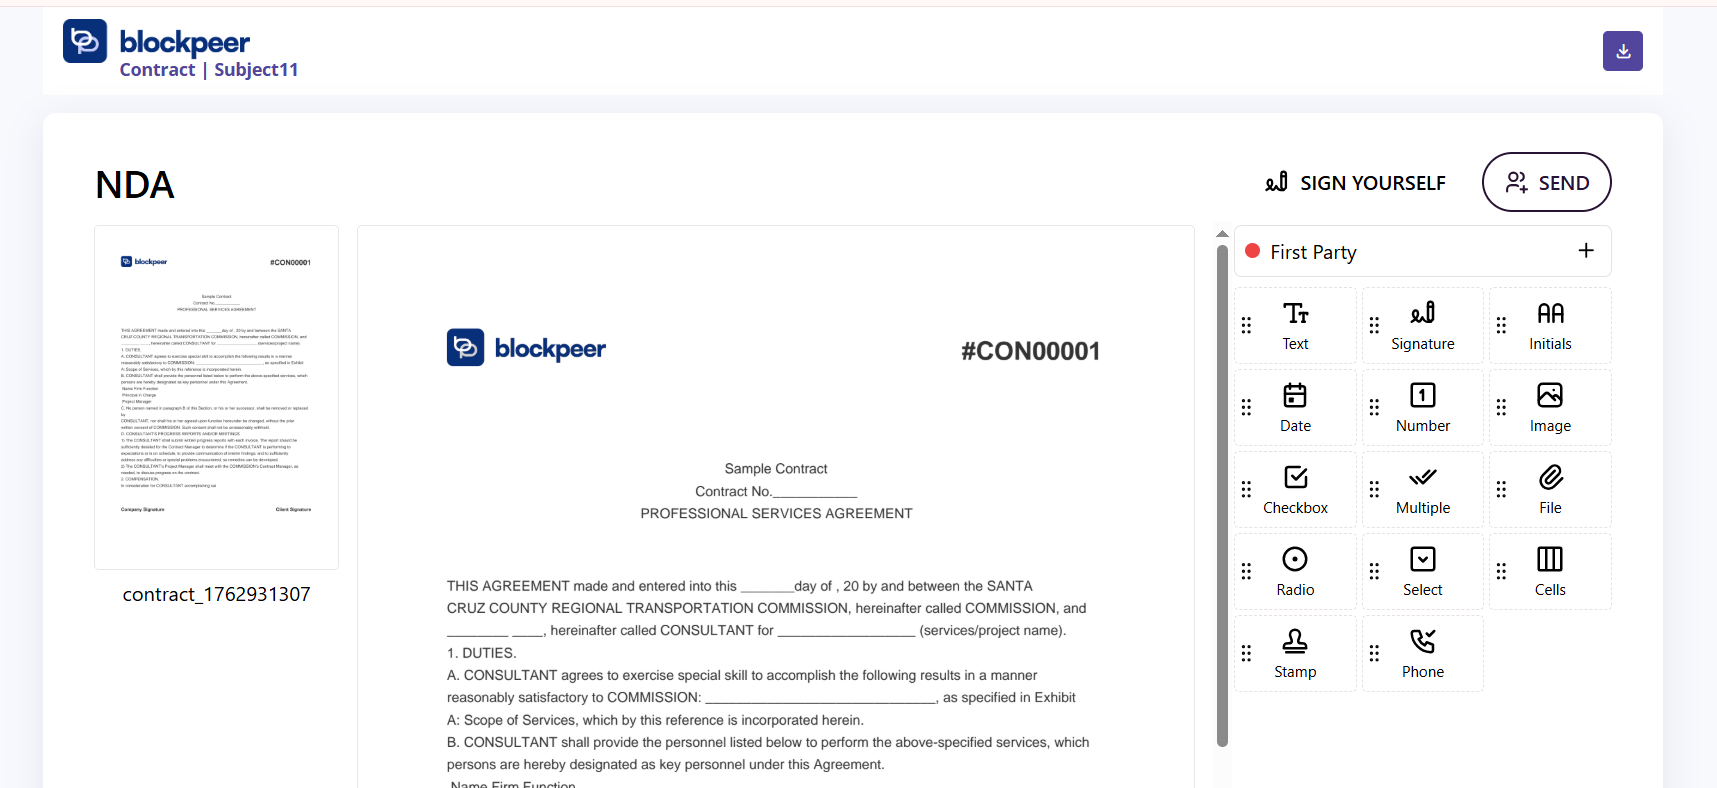
- Click Sign Yourself button in the top-right
- The signature interface will open
Step 2: Understanding Signature Interface
The signature panel shows:
Parties Section:
- First Party: The contract creator (marked with red dot)
- Additional parties can be added
Field Types Available:
- Text Field: For typed information (name, title, etc.)
- Signature: Digital signature field
- Initials: For initialing clauses
- Date: Automatic or manual date entry
- Number: Numeric input fields
- Image: Upload images (logos, stamps)
- Checkbox: For acknowledgments and confirmations
- Multiple: Multiple choice selections
- Radio: Single selection options
- Select: Dropdown selections
- Cells: Table cell inputs
- Stamp: Official stamps or seals
- File: File upload fields
- Phone: Phone number inputs
Step 3: Add Signature Fields
Drag and Drop Placement:
- Select Signature from the field types
- Drag the signature field onto the contract
- Position it where the signature should appear
- The field shows as "🖊️ Signature Field 1"
Configure Field Properties:
- Resize the signature box by dragging corners
- Label the field (e.g., "Company Signature", "Client Signature")
- Mark as required or optional
- Assign to specific signer
Step 4: Add Multiple Signers
Adding Additional Parties:
- Click + (Plus) next to "First Party"
- Enter signer information:
- Full name
- Email address
- Role/Title
- Company name
- Click Add Signer
Assigning Fields to Signers:
- Each signer can have their own fields
- Color-coded fields show which party signs where
- Set signing order if needed (sequential or parallel)
Multiple Signer Workflow:
- Parallel Signing: All signers receive the contract simultaneously
- Sequential Signing: Signers receive in a specific order
- Hybrid: Some fields parallel, others sequential
Step 5: Add Additional Fields
Beyond signatures, add supporting fields:
Text Fields:
- Signer's name (typed)
- Company name
- Title/Position
- Address
Date Fields:
- Signature date (auto-populated)
- Effective date
- Expiration date
Checkboxes:
- Acknowledgment statements
- Agreement to terms
- Consent checkboxes
Example Field Placement: AGREEMENT BETWEEN:Company Name: [Text Field 1] Represented by: [Text Field 2] Signature: [Signature Field 1] Date: [Date Field 1]ANDClient Name: [Text Field 3] Represented by: [Text Field 4] Signature: [Signature Field 2] Date: [Date Field 2]☑ [Checkbox] I agree to the terms and conditions ☑ [Checkbox] I acknowledge receipt of this agreement
Sending Contract for Signature
Step 1: Review Before Sending
- Click Preview to review the contract
- Check all signature fields are properly placed
- Verify signer information is correct
- Ensure all required fields are included
Step 2: Send Contract
- Click Send button
- Choose sending options:
- Send immediately
- Schedule for later
- Set expiration date
- Add message to signers (optional)
- Click Confirm and Send
Step 3: Track Contract Status
Monitor in Dashboard:
- Contract moves from "Draft" to "Pending"
- Track who has viewed the contract
- See who has signed
- Monitor time since sent
Signer's Analytics Panel:
- Shows each signer's status
- Displays signature timestamps
- Indicates current signer (if sequential)
- Shows completion percentage
Signing Workflow
For Contract Creator (Self-Signing)
- Click Sign Yourself button
- Review the contract content
- Fill in your assigned fields
- Add your signature by:
- Drawing with mouse/touchscreen
- Typing your name (auto-converted to signature)
- Uploading signature image
- Click Submit
For Other Signers
Signers receive an email with:
- Contract title and reference number
- Link to view contract
- Deadline (if set)
- Instructions for signing
Signing Process for Recipients:
- Click the link in email
- Review the contract thoroughly
- Locate their signature fields (highlighted)
- Complete all required fields
- Add signature
- Click Submit Signature
After All Parties Sign
When the contract is fully executed:
- All parties receive signed copy via email
- Contract status changes to "Signed"
- Signed PDF is generated automatically
- Contract is stored in system
- Blockchain record is created (if enabled)
Downloading and Sharing
Download Options
Download Contract:
- Open the contract
- Click Download button
- Select format:
- PDF (standard)
- PDF with audit trail
- Original with signatures
- File downloads automatically
When to Download:
- Before sending for backup
- After signing for records
- For offline review
- For integration with other systems
Preview Features
Preview Contract:
- Click Preview button
- View contract as signers see it
- Check layout and formatting
- Verify signature field placement
- Test on different screen sizes
Recent Contracts
Viewing Contract List
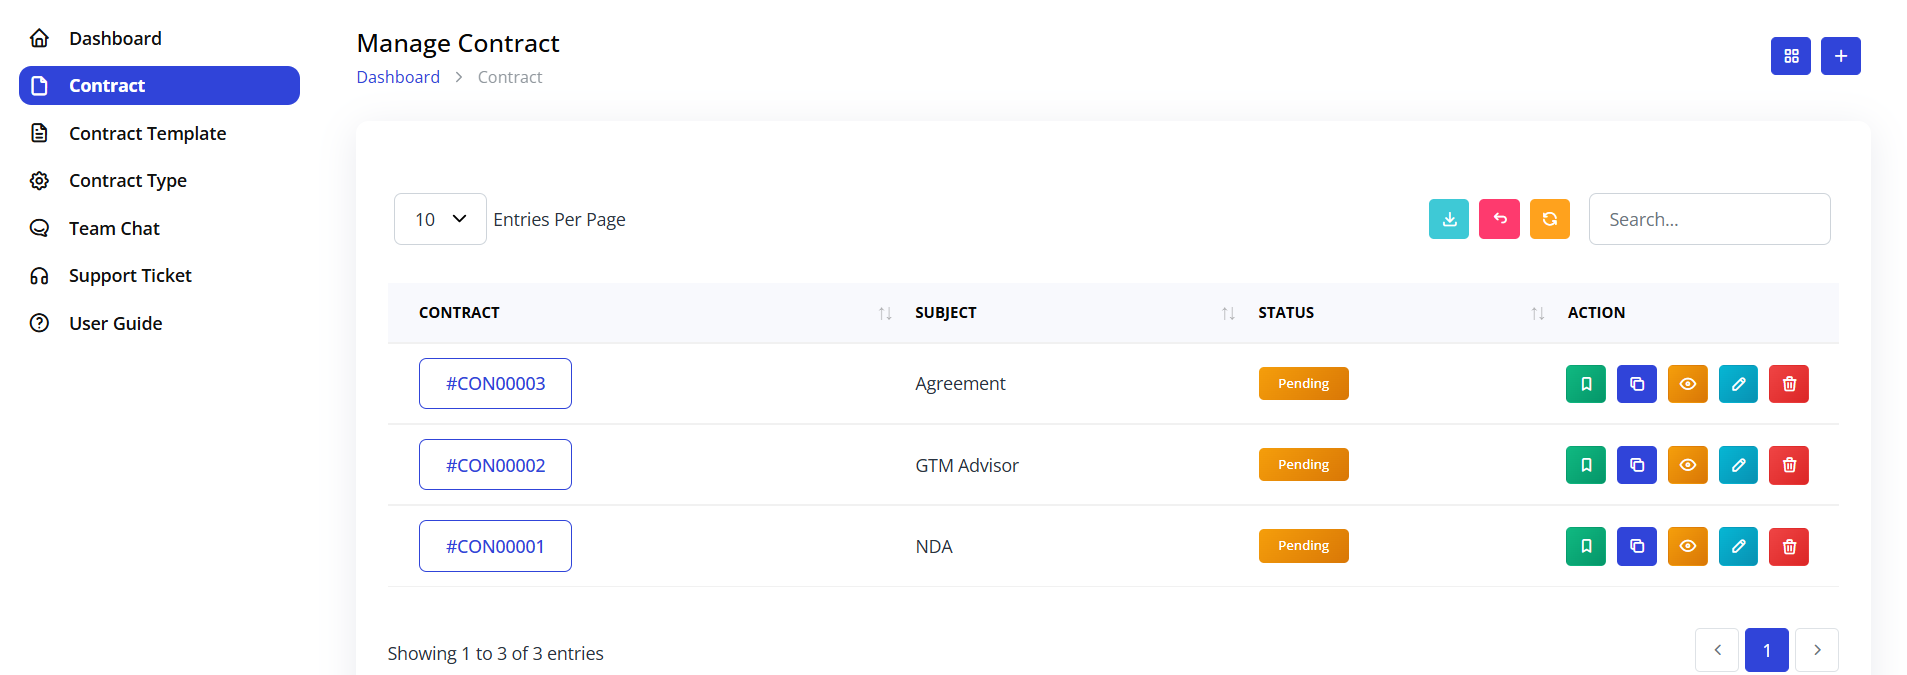 The dashboard shows recent contracts with:
Columns:
- CONTRACT: Reference number (e.g., #CON00000)
- SUBJECT: Contract title
- STATUS: Current state (Pending, Signed, etc.)
- ACTION: Quick action buttons
Action Buttons:
- 👁️ View: Open and review contract
- ✏️ Edit: Modify draft contracts
- 🗑️ Delete: Remove contracts (drafts only)
Filtering and Search
Find contracts quickly:
- Search by contract number
- Filter by status
- Sort by date created
- Filter by contract type
- Search by party names
Contract Analytics
Signer's Analytics
Track signing progress:
- Sent: When contract was distributed
- Viewed: When each party opened it
- Signed: Timestamp of each signature
- Completed: When all signatures collected
Performance Metrics
Monitor contract efficiency:
- Average time to sign
- Most used contract types
- Completion rates
- Declined contract reasons
Best Practices
Creating Effective Contracts
- Use Clear Language: Avoid legal jargon when possible
- Structure Properly: Use headings, sections, and numbering
- Be Specific: Include exact dates, amounts, and terms
- Include All Details: Don't leave important information to "be determined later"
- Proofread: Check for errors before sending
Signature Field Placement
- Place signature fields at the end of sections they relate to
- Use appropriate field sizes (signatures need more space)
- Label fields clearly ("Company Signature", not just "Signature")
- Group related fields together (name, title, signature, date)
- Ensure fields don't overlap text
Managing Multiple Signers
- Communicate signing order clearly
- Set realistic deadlines
- Send reminders to pending signers
- Keep all parties informed of progress
- Resolve questions quickly
Document Management
- Use consistent naming conventions
- Maintain version control for templates
- Keep drafts organized
- Archive completed contracts systematically
- Back up important contracts externally
Troubleshooting
Q: Can I edit a contract after sending it? A: No, contracts are locked once sent to maintain integrity. Create a new version if changes are needed.
Q: What if a signer doesn't receive the email? A: Check spam folders first. Use the "Resend" option in the contract details. Verify the email address is correct.
Q: Can I change the signing order after sending? A: No, signing order is fixed when sent. You must cancel and resend with the new order.
Q: How long are signed contracts stored? A: Signed contracts are stored indefinitely in the system. You can also download and store externally.
Q: Can I add more signers after sending? A: Not to an active contract. You can cancel the current contract and resend with additional signers.
Q: What happens if the contract expires? A: The contract becomes invalid and cannot be signed. You must create a new version to continue.
Q: Can signers sign on mobile devices? A: Yes, the contract interface is mobile-responsive and supports touch-screen signatures.
Q: How do I know when someone signs? A: You receive email notifications for each signature, and can check real-time status in the dashboard.
Security and Compliance
Data Security
- All contracts are encrypted in transit and at rest
- Secure signature technology ensures authenticity
- Audit trails track all actions
- Access controls limit who can view/edit
Legal Validity
- Digital signatures are legally binding in most jurisdictions
- System complies with e-signature laws (ESIGN, eIDAS)
- Tamper-proof records ensure document integrity
- Certificate of completion provided for each signed contract
Audit Trail
Every contract includes a complete audit trail:
- Who created the contract and when
- All edits and modifications
- When contract was sent
- Who viewed it and when
- Signature timestamps
- IP addresses and device information
- Any declined or cancelled actions